How to create a digital backdrop in Photoshop Elements or CC
Photo Tip Friday February 21, 2014
We all know how important it is to shoot portraits against a nice backdrop. But we may not always have access to different colours or patterns for backdrops. Thanks to digital capture and editing processes, we can create our very own customized backdrop in Photoshop Elements or CC in no time. For those of you who haven’t yet worked out how and have been searching for the answer – please read on!
There are many ways to create backdrops and one of the most popular is the canvas Old Master style. Photoshop Elements and CC has a quick and easy way to create one of these using the “Render Clouds” filter.
First create a new canvas and make it a suitable size: I chose 18×12, with 300 DPI resolution (most of my images are at 300 DPI). You may want to name the file too; I named it Canvas BG.

Next select a foreground and background colour you would like to use. I’ve gone for a medium orange brown, with brown as the background. Neutral colours are best, with brown, gray or blue being the most popular choices in the canvas world. But there is virtually any number of colours and you only have to use them once, so be creative if you like. Just make sure the background colour you choose matches/compliments your subject.

Once you have selected your two colours go to Filter>Render>Clouds and the canvas will turn like this.

Now at this stage I feel the pattern is too tight and fussy. The easiest way around this is to stretch the clouds over the canvas by making them larger.
Go to Select>All and then to Image>Transform>Perspective.

This puts a frame around the picture with squares in each corner and centre of each edge. Drag these outward to make the frame bigger than the canvas. So you can see what you are doing reduce the photo on the Photoshop desktop by clicking on the minus (-) key while holding down the Command/Ctrl key. Then as you drag you can still see the corners of the transform box. If you do perspective to an irregular shape (as seen below) you’ll see the cloud pattern change.

Mine now has a diagonal wave to it. You can also use this tip to create clouds when you want to improve a boring landscape sky.
Well that’s another simple technique explained. Just one last thing: you don’t have to stay with the colour you selected in the first stage. If you like your cloud pattern and would prefer a different colour go to Hue/Saturation and adjust the hue slider until you get what you want.
You can also make the background smoother by blurring. In the example on the far right I’ve applied Filter>Blur>Radial Blur set to zoom mode.
Now it is time to add the photo.
I found this image interesting but the background is a little too busy.

I quickly selected the subject and refined the edges (Yes we teach these techniques in our Photoshop Bootcamp classes).
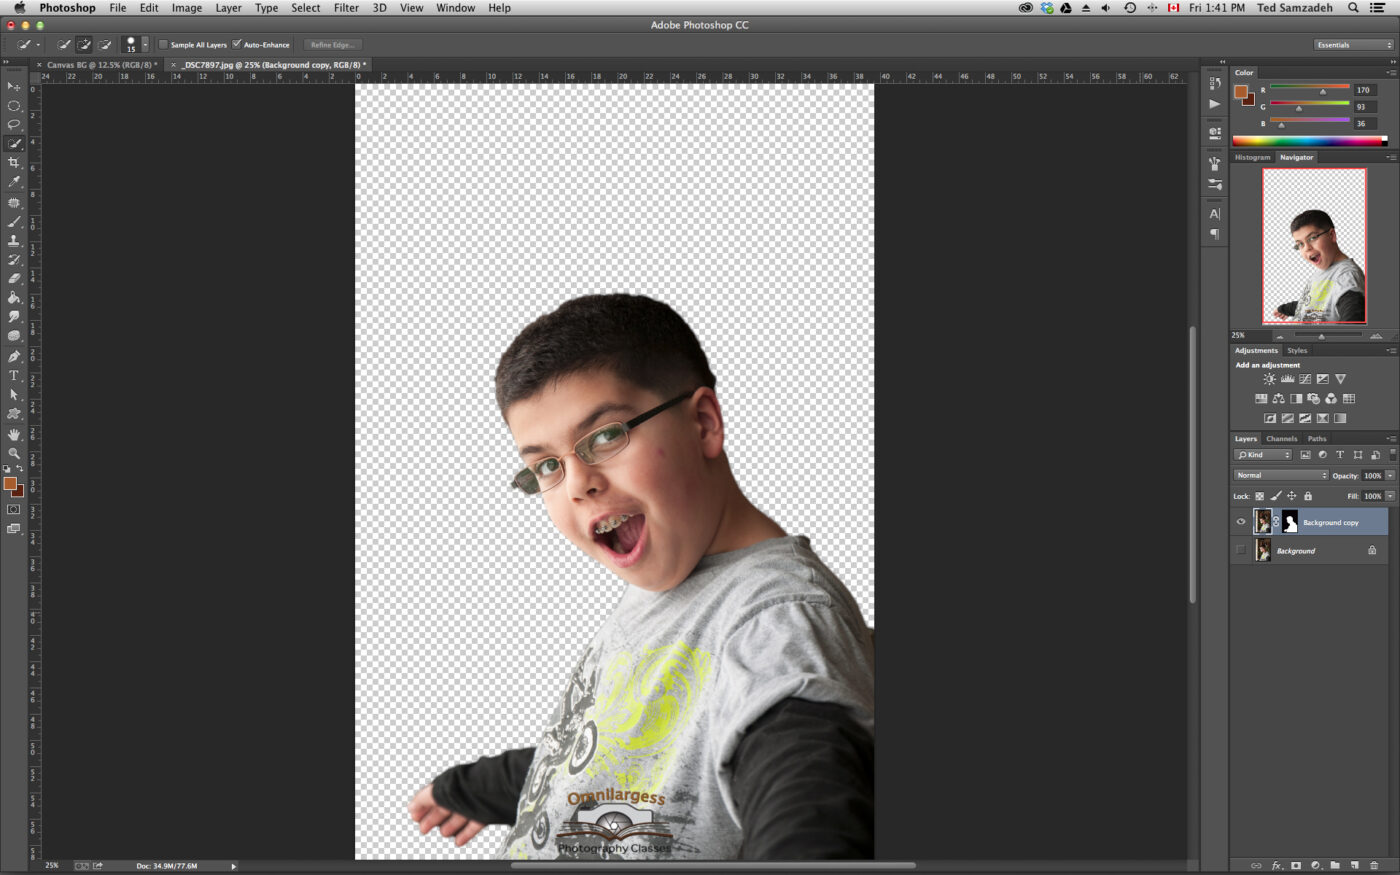
Drag and drop the image onto my custom canvas backdrop and the job is done!

If desired I can go to Curve adjustment and fine tweak the layers as needed.

And now you have another technique for your editing tool box of ideas.
If you want to learn more about Photoshop Elements or CC please join us for our upcoming Photoshop Bootcamp. Add your name here and as soon as we schedule the Bootcamp we will send you all the information.
Ted and the Omnilargess Team
[SINGLEEVENT single_event_id=”photoshop-bootcamp-2-52b362b5868e7″]