Creative Project: add the Moon to photo
Plus “Color Look Up”: another PS Hidden Gem
Photo Tip Friday October 26, 2014
Have you seen those images with the moon in a landscape and wondered how it was done? In this tutorial you will learn how to add the moon to a photo so that it looks natural; I’m also going to talk about another Photoshop Hidden Gem for turning a day time photo to night scene picture.
There are several different tools you can use to achieve the desired effect. Thanks to the new Photoshop CC “COLOR LOOK UP” tool you can easily convert a daytime scene into a night time picture.
In this example I want to add the Moon to this photo and turn the daylight into a night shot.
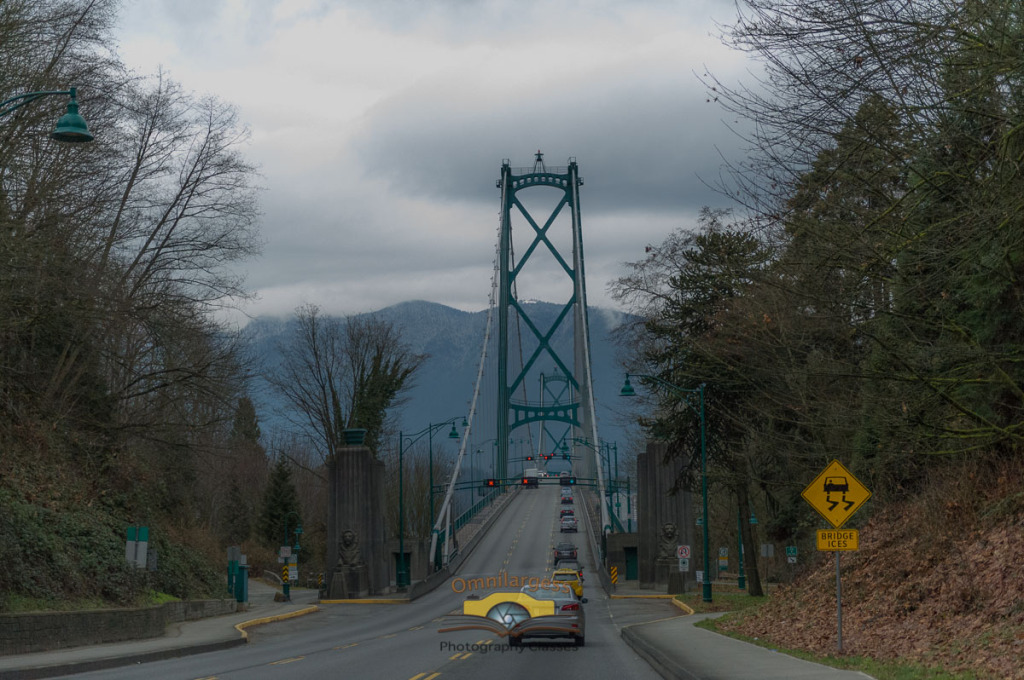

For this exercise you need a photo of the full moon. If you don’t have a picture of a full moon, contact us and we will send you a picture to use in this project.
1-Open the background photo
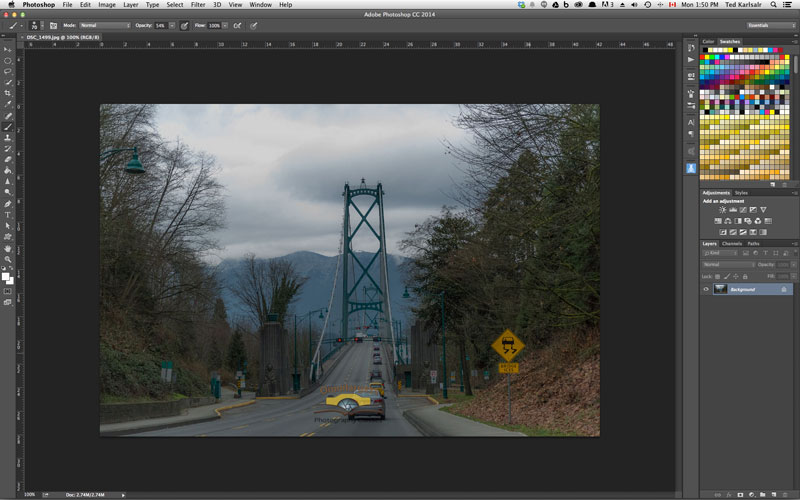
2- Open the Moon photo

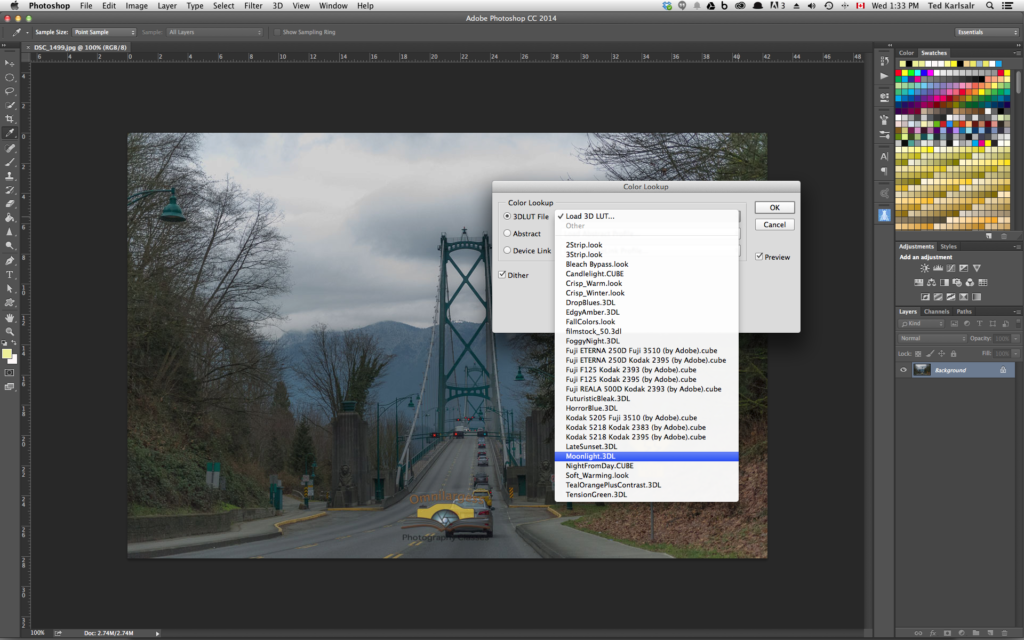
3-Select the back ground Layer and then go to IMAGE>Adjustment> Color Look Up. And from the drop down menu select MOONLIGHT
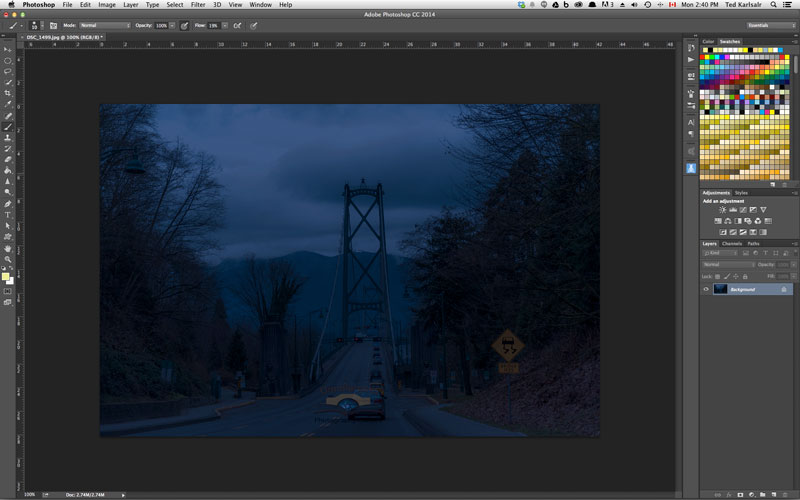
4-Now your background will look like this
5-Go back to Moon layer and select the Moon by using Quick Select tool and refine the edges. Move the Moon onto background image. Select the Free Transform tool to resize the moon to the background.

6-Create a new layer from the moon and place it under the Moon layer. I called this Layer “Halo”. Open the Layer style panel and select Outer Glow. Choose White as your colour, for Blend mode select “Normal”, and for Opacity set it around 90%, and for size set it around 100 Pixels. This will create a natural looking Halo around the moon.

7-Select the Moon layer and set the layer opacity to around 30%.
8-Copy the Effect from Halo Layer to Moon Layer by pressing and holding Option/ALT key and dragging the effect to Moon Layer. Double click on Effect to open the effect panel and set the Opacity to 100% and the size to around 20 Pixels. These adjustments make a natural looking moon and halo.
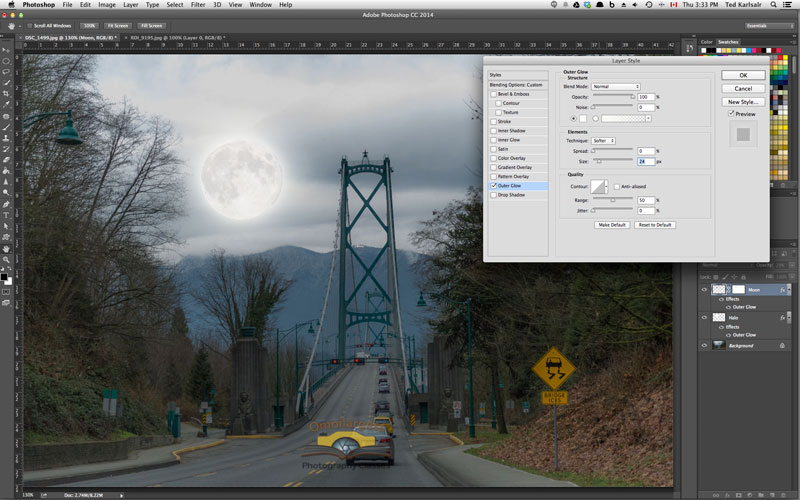
8-Select both Moon and Halo Layer by holding down the shift key. Press Command/Control + G to group these layers into one group.

9-In this image I wanted to add some clouds to my Moon. To do this I clicked on the Layer Mask icon to add a Layer Mask to this Group.
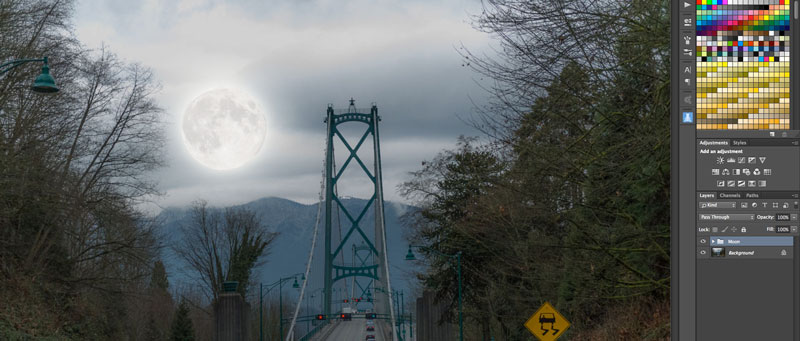 10-Select the Brush tool, adjust the brush size, choose black and brush in (reveal) some of the background texture to the Moon. And now you have the final image. Your creative options don’t stop here! You can use different effects to make the picture even more dramatic. In this example I added some street light effects by using the Layer Mask and Brush tool.

.
Do you want to learn more Photoshop techniques?
Contact us today for some private Photoshop lessons which will take your editing skills to exciting new levels.
Ted and the Omnilargess Team


