Create Presets in Lightroom
Do you find yourself making the same (or similar) edits to many of your images?
Photo Tip Friday August 1, 2014
There are lots of presets in Lightroom. As a matter of fact Lightroom comes with some default presets that Adobe considers a useful starting point for editing images. One of the best things about Lightroom is its ability to store develop settings as Presets so you can use them again later to edit other images. In addition to creating and saving your own presets, you can also download presets from the web and use them in Lightroom.
In general Presets are settings and adjustments that you may want to apply to all of the images or most of your photos during editing. These settings/instructions can be saved as a preset in Lightroom, to be applied on import or in the develop module during editing. And the best thing is that presets in Lightroom are non destructive, which means at any time you can go back to your original picture or modify the settings without damaging your original photo.
How to create presets in Lightroom
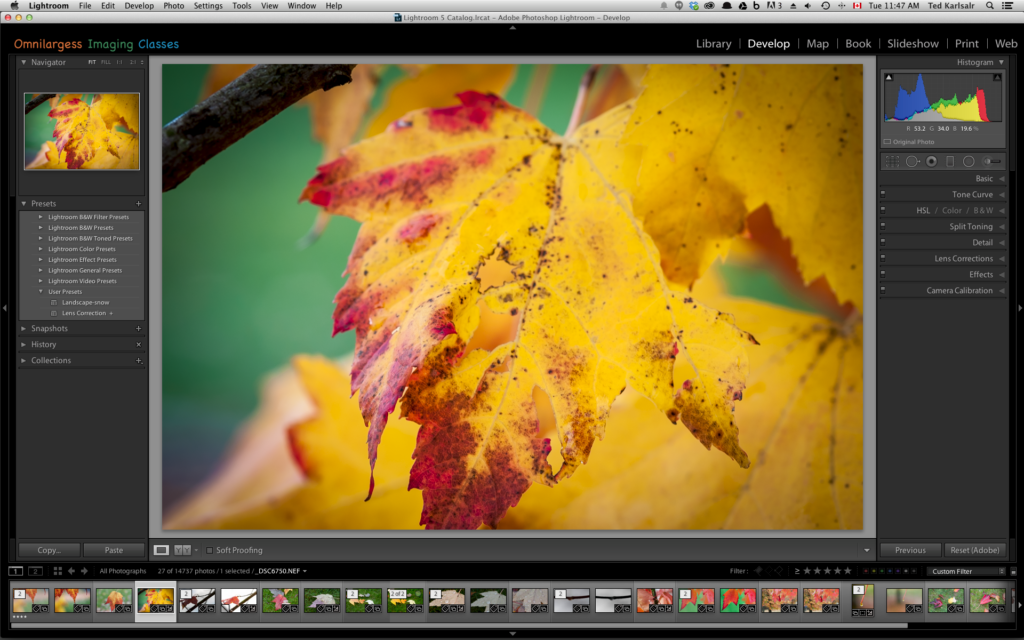
1- Open a photo in Lightroom’s Develop Module.

2 – Begin by editing the photo with the most commonly used adjustments that you usually apply to your images. In this example I am going to create a preset for close-up pictures. I like to adjust Highlight, Shadows, Vibrance, Clarity, Details, Lens Corrections, and Vignette in all of my Macro images.

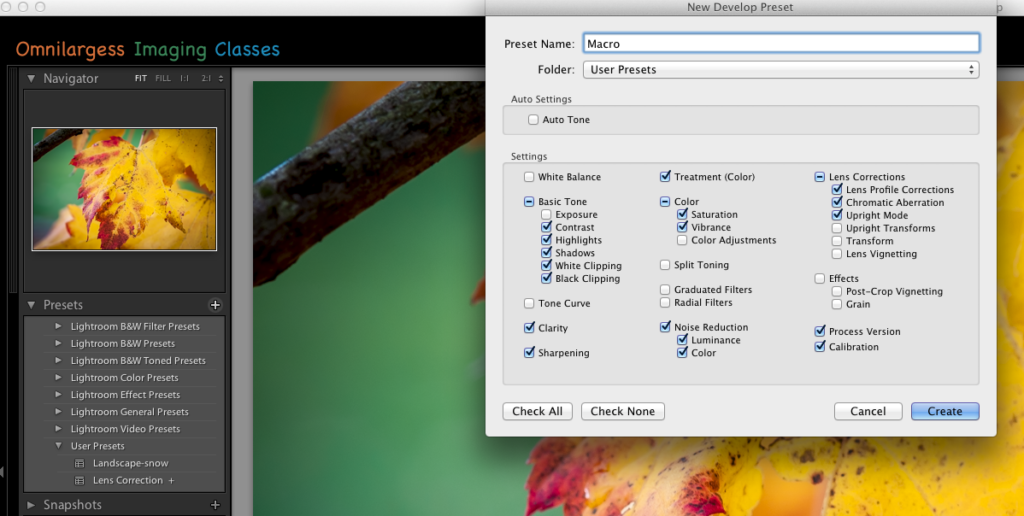
3 – After adjusting the common settings for a macro photo, go to the right hand side panel and click the + sign next to Preset tab.

4 – As you can see in this screenshot I selected the settings that I want to adjust for all macro images. Notice that I didn’t select the White Balance or Exposure as they are different from image to image, but I selected vignette because I like this feature in almost all macro images. Remember to name your preset properly so that you can remember it later!

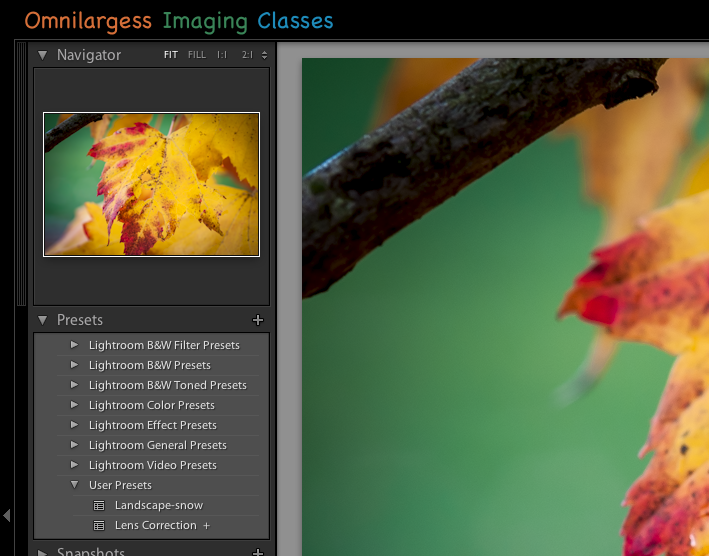
5- Job is done! Here is your customized Preset in Lightroom. Now you can not only select all the macro photos and apply these settings with only one click, but also you can apply the preset while importing the pictures to Lightroom. This will save you lots of time!

Creating presets in Lightroom is quite easy, but you should consider some very important fundamentals for naming and applying the presets. We are going to have a Lightroom workshop on September 15. Come and join us to learn more tips and improve your digital editing workflow.
Ted and the Omnilargess Team
An Event with an ID of "14007" could not be found. Please contact the event administrator for assistance.

