Lightroom 5 Radial Filter
The new “Lightroom 5 Radial Filter” is becoming one of my favorite new features. When you combine it with the Adjustment Brush and the Graduated Filter, you’ve got really powerful tools to apply the adjustments selectively to your photos and draw attention to the most important parts.
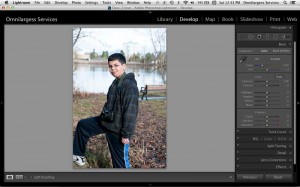
I like this photos and started to edit it in Lightroom 5

For this photo I adjusted the Exposure, White Balance, and contrast. Still the background is too bright to my taste.

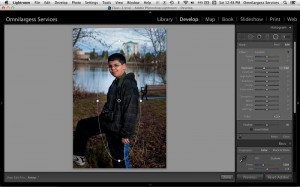
Thanks to new Lightroom 5 Radial Filter, I quickly selected my subject and applied the correction.


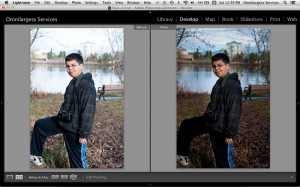
Here is the Before and After

It took me less than a minute to post process this photo!

[button url=”http://omnilargess.com/event-registration/” target=”_self” size=”large” style=”golden” ]Sign up for our next Lightroom class to learn more Lightroom techniques.[/button]
Ted and Omnilargess Workshop Team

