Lightroom Local Adjustment Techniques Part 1
Lightroom is well known as a powerful RAW editor, but do you know how to apply selected adjustments to a local area of your image to enhance the photo?
In this tutorial I am going to show you one of these local adjustments by using the Brush tool.
Local Adjustment in Lightroom (Brush Tool)
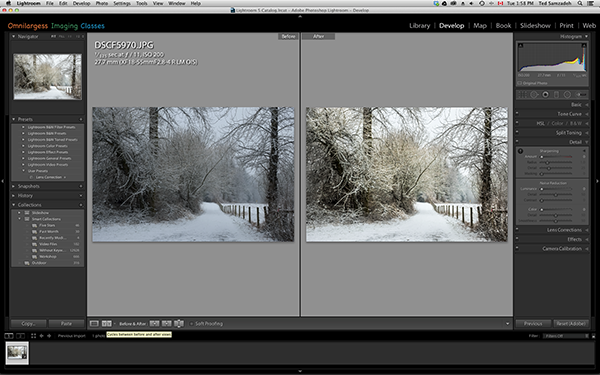
Cheryl Wiens, a student of several of our classes over the years, gave me the idea for this article. She took this nice photo with her Fuji X-E1 camera; right out of the camera the Jpeg file looked nice but she knew the potential of the Fuji sensor and wanted to push the limits – not throughout the image but in parts of the image.
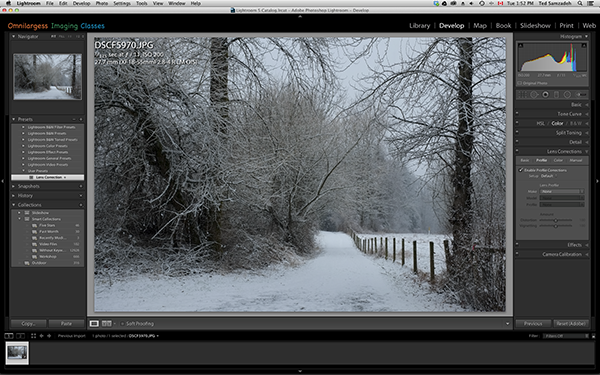
I opened the Jpeg in Lightroom and started with a minor adjustment as Global adjustments for the whole image.

As you can see even a little tweaking created a nicer image. Next I adjusted the Tone Curve to balance highlights and shadows a little more (another Global adjustment).

Now it was time to use some Local adjustment. For this tutorial I used Brush Tool. I opened the Brush tool, reset it to default and started to apply the Brush to the areas that I wanted to fix.
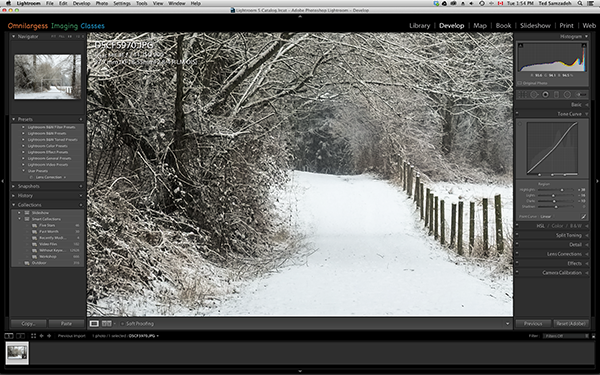
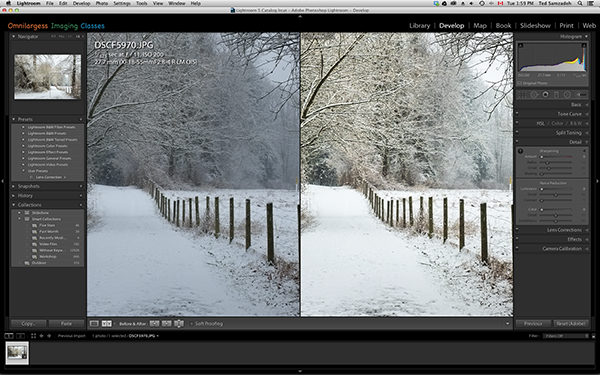
In this image I turned on the layer Mask so you can see where I applied the Brush and the areas I selected. Then I adjusted Exposure, Contrast, Saturation, Clarity, and Sharpness just for the selected area. And here is the Before and After.

The final result is an outstanding image with good details in the trees and branches and a nice soft looking overcast snow scene.

Lightroom has many hidden features which can save you time by streamlining your work and editing processes. If you want to fully explore all this program has to offer, check out our Lightroom Bootcamp workshop and register today.
Ted and the Omnilargess Team
[SINGLEEVENT single_event_id=”lightroom-bootcamp-2-520142bb27e0a”]

