Auto Sync in Lightroom
One of the most powerful tools in Lightroom 4 and 5 is “AUTO SYNC“. Auto Synch is different from copying and pasting the settings, it simultaneously applies the adjustments to the selected images. In this article you learn how and when to use Auto Sync in Lightroom. (By default Auto Sync is turned off )
In this example I want to apply certain adjustment to seven images. I want to use these photos for a web page and they must be in a square format.
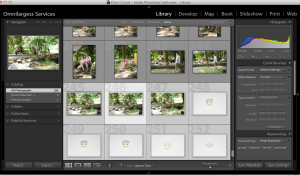
In the Library Module, I selected these images.
 You may notice that they are all in different exposures and formats.
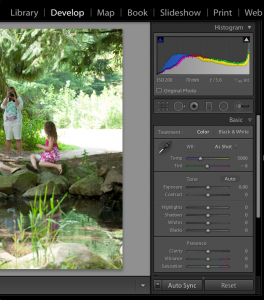
Then go to Develop module and you will see the first selected image. By Default AUTO SYNC is off.

You see a small square button right beside the SYNC button. Click on it to turn the Auto Sync on for these selected photos

Now, when you adjust this image, AUTO SYNC will apply these adjustments to all selected images. In this case I applied a 1×1 (square) format and some other adjustments:

When you go back to the Library module, you see that the adjustments applied to all selected photos
 Of course, you can go back and fine tune each photos if you want,

So when you want to apply certain adjustments to a project, Auto Sync is a “Time Saver”!
Do you want to learn more about Lightroom? Sign up for our upcoming Lightroom Bootcamp on October 9 to unleash the power of Lightroom.
[button url=”http://omnilargess.com/event-registration/?regevent_action=register&event_id=80″ target=”_self” size=”large” style=”autumn” ]Lightroom Bootcamp Registration[/button]
