Photoshop Layer Mask Vs Eraser Tool
Photo Tip Friday: February 7, 2014
Photoshop or Photoshop Elements are not non-destructive software, which means when you make changes (edits) and save your photo, all the changes will be applied to the image and you cannot restore it back to the original.
One of the most destructive tools in Photoshop and Photoshop Elements is the Eraser tool. If you erase part of a photo and save it, all those erased parts are gone forever and you can’t bring them back, unless you were working on a copy of your original photo.
In this tutorial I am going to show you a safer and better way to ‘Hide’ parts of an image and if needed make them visible again.
‘Photoshop Layer Mask’ is a life saver!
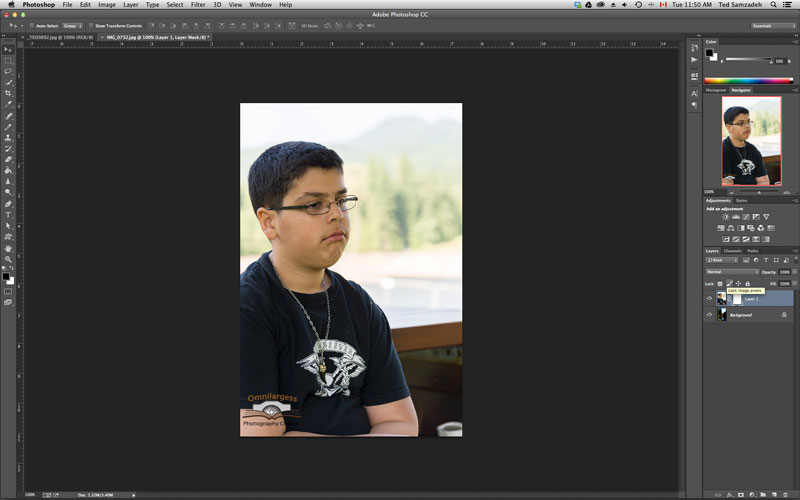
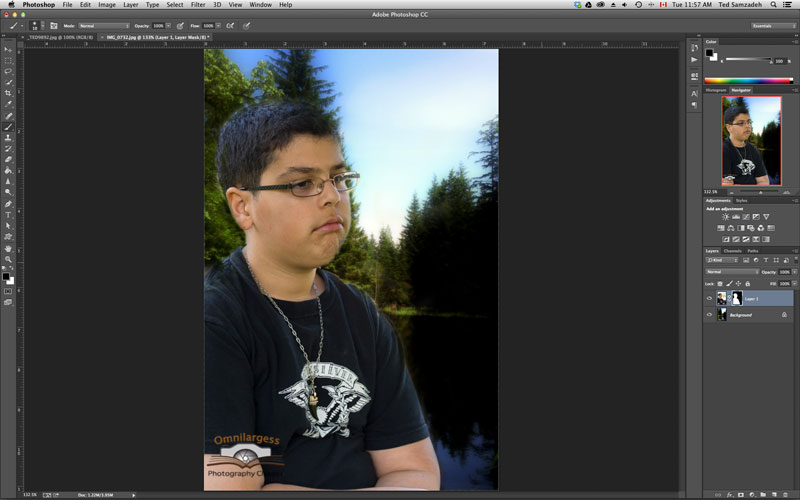
In this example I am going to erase the background of this photo and put the subject in a different background.

Many users new to Photoshop will go directly to Eraser tool! Don’t do it! Keep reading to see how powerful the ‘Layer Mask’ is and why it is your best option.

I just select the Layer Mask for my top layer (Main photo). You notice this icon:

It is white which means that the whole layer is Visible (White=Visible, Black=Hidden). Then I select a paint brush and adjust the size, and select Black for colour to “HIDE” the area that I want to remove.

Now by brushing the unwanted area I make it ‘Hidden’.

If I accidentally ‘Hide’ an area, or if I want to reveal an area again, I can simply select the White colour and brush that area back again.


When I save the image as PSD (Photoshop Format) I can go back anytime and tweak the photo without losing my previous work on this image.

This is the power of Layers and Layer Mask in Photoshop and Photoshop Elements.
If you’re interested in learning more editing skills add your name to our upcoming Photoshop Bootcamp. We’ll send you course outline info and notification of dates as soon as we schedule the workshop.
Stay tuned for more Photo Tip Friday. If you have any suggestions or questions for our Photo Tip posts – we’d love to hear from you.
Ted and the Omnilargess Team
[SINGLEEVENT single_event_id=”photoshop-bootcamp-2-52b362b5868e7″]

