Photoshop ND Filter
How to create a Graduated Neutral Density Filter using Photoshop Layers and Mask
Photoshop Layers and Masks are the most powerful tools in image editing. In this tutorial we are going to take a look at adjusting the exposure for part of the image to make it darker, the same way as using a Graduated Neutral Density Filter.
What is Neutral Density (ND) Filter?
A ND filter is a grey filter that does not affect the colours, but allows you to reduce the exposure, either by slowing down the shutter speed or opening up the aperture. The ND Filters come with a variety of densities (darknesses) that you can choose from. You can find a more detailed description in Wikipedia here:
https://en.wikipedia.org/wiki/Neutral_density_filter
What is Graduated ND Filter?
The Graduated ND filter starts with a transparent part and changes the density to the darkest level. In other words, it gradually gets darker. This allows you to reduce the brightness of one part of the scene (brighter part) to match it to the darker part of the image, e.g. adjusting the brightness of the sky to match the tonality of the foreground.
By using Photoshop Layer and Mask, we can create almost the same effect for our images. In this tutorial you’ll learn how to create the effect of Graduated ND Filter.
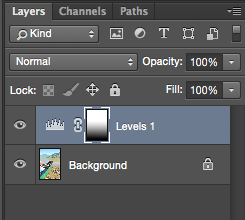
A- Open a high contrast image which contains strong highlights and deep shadows. Go to Adjustment layers and select Levels. Now start adjusting the Levels to bring back as much details in highlight as you can. (Don’t worry about the mid tones and shadows as they get darker. We are going to mask those areas).

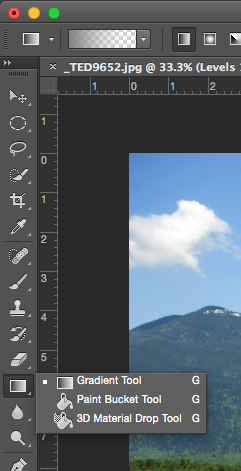
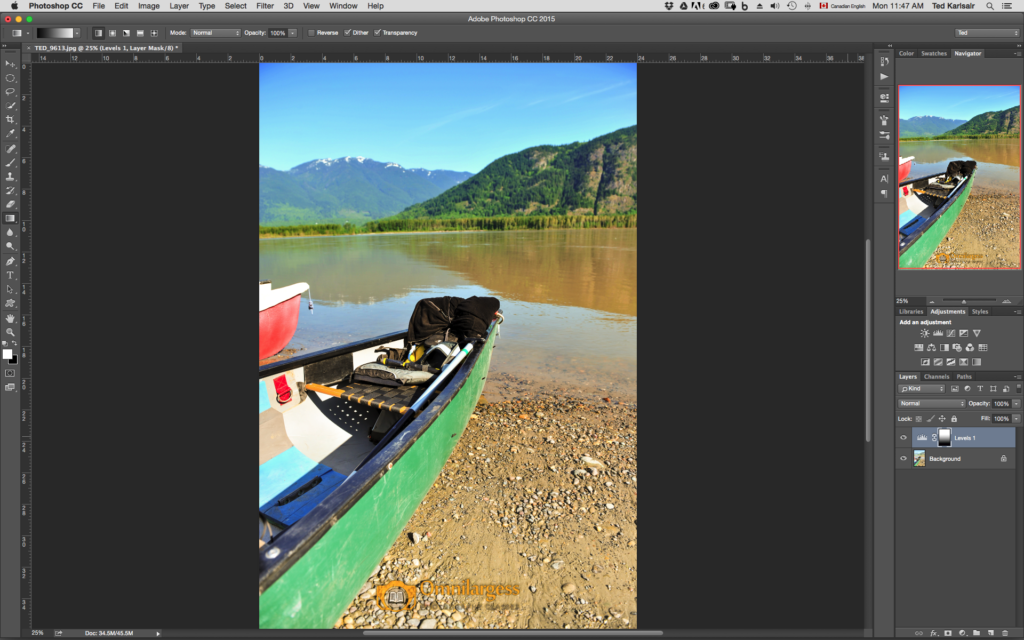
B- Select the Mask on the Layer panel. Then go to Tool bar and select Gradient tool. Make sure that Linear gradient is selected, go to the gradient Bar and select Black to White Gradient from the drop down menu.


C- Since it is a Black to White gradient (Black means no adjustment and White means adjustment), click on the Shadow part of the image and drag it all the way to the starting point of Highlights.

D- As you can see in the Layer Panel, we created a very nice smooth gradient filter on the Mask of Layer adjustment.

E- Finally, if I want to bring the exposure back to a particular area of the photo and make it brighter I can easily select the Brush tool, pick up the Black colour (as Black means no adjustment), and start brushing areas where I don’t want to apply the adjustment.
F- Here is Before.

And here is After.

I recommend you save the image as PSD (Photoshop format) so you can go back at any time and make changes to this layer and its mask, without affecting the original photo.
I hope you’ve enjoyed this example of one of the many different ways to use Photoshop Layers and Mask together to apply local adjustments to photos without changing the original pictures.
That is all for this week. If you want to learn more, register for Photoshop Layers and Masks workshop today. Photoshop Layers and Masks is a two day program scheduled for November 18 and 19 from 7-9 PM.
Ted and the Omnilargess Team
An Event with an ID of "15439" could not be found. Please contact the event administrator for assistance.
