Zone System and HDR
Understanding the Zone System to create HDR images
Part 2
In last article I talked about the differences between human eye and a digital camera sensor regarding the Dynamic Range. Also I talked about advantages of shooting in RAW vs. Jpeg format. In this article I am going to explain the use of Zone System in HDR.
What is Zone System?
Zone system is explained in Wikipedia in detail and here is the short version of it:
The Zone System is a photographic technique for determining optimal film exposure and development, formulated by Ansel Adams and Fred Archer.[1] Adams described the Zone System as “[…] not an invention of mine; it is a codification of the principles of sensitometry, worked out by Fred Archer and myself at the Art Center School in Los Angeles, around 1939-40.”[2]
The technique is based on the late 19th century sensitometry studies of Hurter and Driffield. The Zone System provides photographers with a systematic method of precisely defining the relationship between the way they visualize the photographic subject and the final results. Although it originated with black-and-white sheet film, the Zone System is also applicable to roll film, both black-and-white and color, negative and reversal, and to digital photography.
Understanding the Zone System helps us to determine how many exposures we need to create an HDR photo.
Expanding the dynamic range and zones is possible with an HDR image
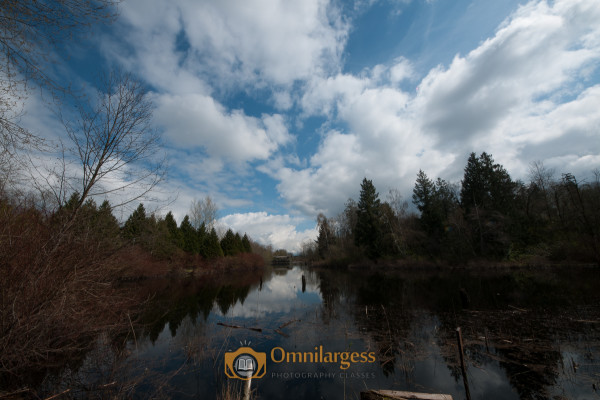
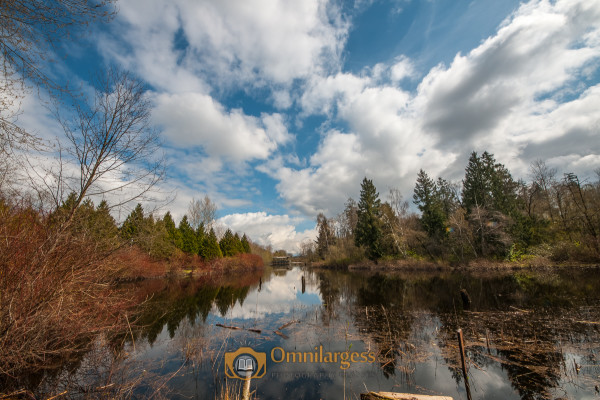
To make an HDR picture, we need to take several different exposure shots of the same scene to capture the details of 6 to 7 different zones (to match it with human eye dynamic range). I took these three photos by bracketing in-camera from -1 to +1.


Then I merged them into a single HDR image using Lightroom CC.

How many images do I need to make a perfect HDR?
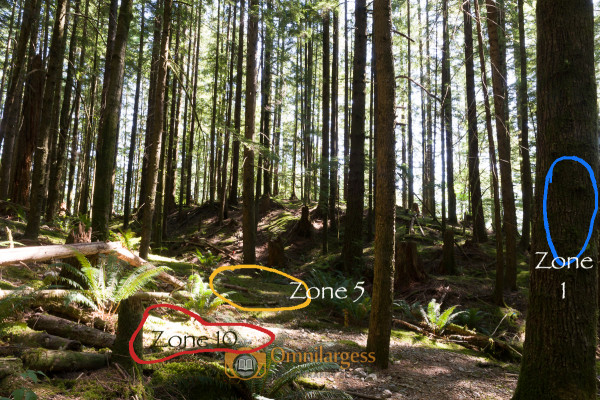
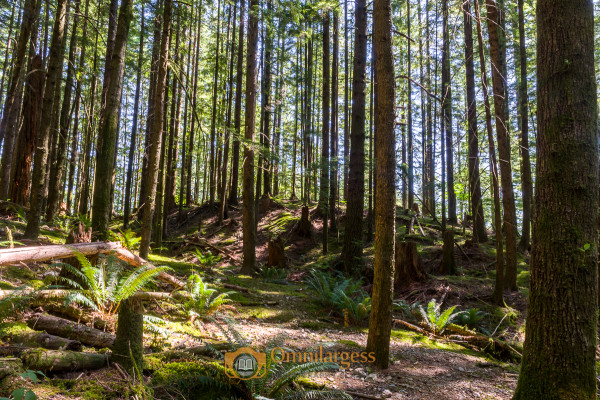
There is no simple answer to this question. It all depends on how much contrast is in the scene, and what your main subject is. As a rule of thumb if you consider your main subject is Zone 5 (which has the most details), the camera can capture the details of Zone 4 and Zone 6, if you shoot in RAW format. If you want to cover all zones (from 0 which is pure black to 10 which is pure white), you need to calculate the exposure in a way for each zone to bring that zone to zones 4, 5. or 6 (which will provide some details). I marked the zones in the image below for better understanding:


If I want more details in the sky I need to adjust the exposure to set the sky to zone 6, and if I need details from the shade, I need to put the shade in zone 4. Therefore for this scene I needed 5 images in total.

That is all for now. Stay tuned for the next article about how to merge photos to make an HDR in Lightroom CC or Photoshop CC.
Are you a member of Facebook Rebel Photographer Group? Post your images and we can all enjoy the beauty of HDR images together.
Ted and the Omnilargess Team
To learn more about Exposure Bracketing and how to control it check out our upcoming Digital Camera Workshops on July 15. It is a two part workshop with lots of hands on and a field trip!

