Blending Layers in Photoshop Elements
Layers are one of the most important and powerful features in Photoshop Elements. In this tutorial, I am going to show you how to remove the background of one image, while adding the subject to another image. It is called “Blending Layers”. Let’s get started!
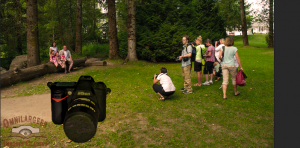
I have this picture of a toy camera and want to remove the background. Then I want to add the camera into another photo. What is the fastest and easiest way to do it?
1- Open the background photo in Photoshop Elements

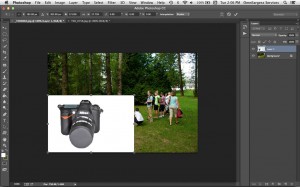
2- Drag and drop the new photo on top of your background image.
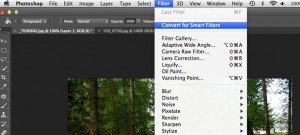
3- In Photoshop CC and C6, it automatically creates a smart layer. In other versions go to Filters>Convert to Smart Filter and create a smart layer

4- Now that you have a Smart Layer you can resize and re-position it.
5- Go to “Blend Mode“. By default it is set to “Normal“. In drop down window, select “Multiply”

6- Now go to “Adjustment Layer” and select “Levels”

7- Adjust the Levels for new blended layer to your taste
 8- And job is done in no time!

This simple process works best when your added subject is on a solid, white background.
Blending Layers in Photoshop offers many different options. If you want to learn more about blending Layers, register for our Photoshop Layers and Mask class. It is a two part program specially developed for beginners to intermediates to understand the importance and power of Photoshop Layers. Photoshop Layers and Mask workshop starts on August 13.
I will post more tutorials about blending layers.
Until then, Happy Photoshopping!
An Event with an ID of "15439" could not be found. Please contact the event administrator for assistance.
Ted and Omnilargess Team


