How to colourize Black and white Photo
10 easy steps in Photoshop to bring some colours back to old photos!
We all know how to convert a colour image into a black and white photo in Photoshop. But converting a Black and White photo to colour is not as simple.
To colourize a black and white photo you need to understand the colour in the picture and try to be as close to real colour as possible.
In this tutorial I am going to discuss a simple yet effective skill to add colour to pictures. Whether you have old photos or you just want to experiment with a new technique – this tutorial will keep you entertained!
1-Open an image in Photoshop
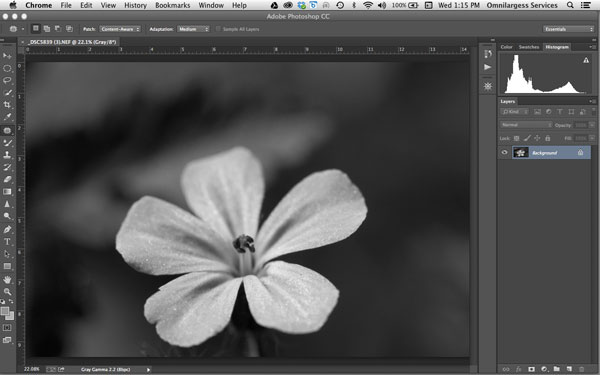
2-Go to Image>Mode and select CMYK (it gives you more control over the colours than RGB)
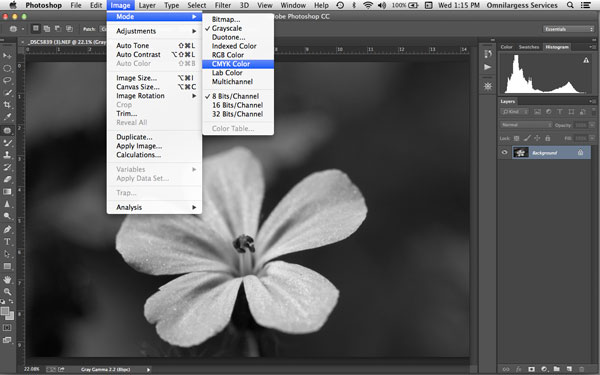
3-Select “Quick Select” tool and start selecting your first item in the photo. In this image I selected the flower first.

4-Go to “Create New Fill or Adjustment Layer” and select “Curve”
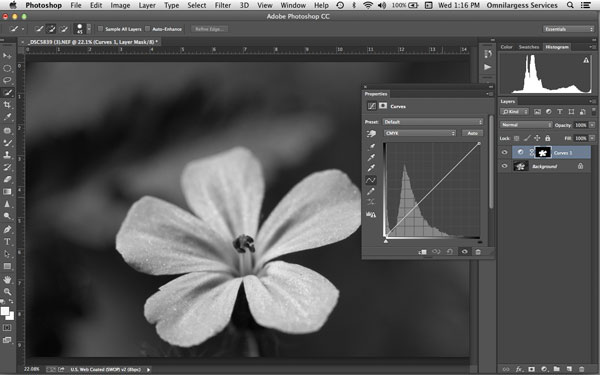
5-Now on the “Proprieties” window you can select each colour channel and adjust them to your liking. In this image I want to create a different colour flower so I added more Yellow to make it the way I liked it.
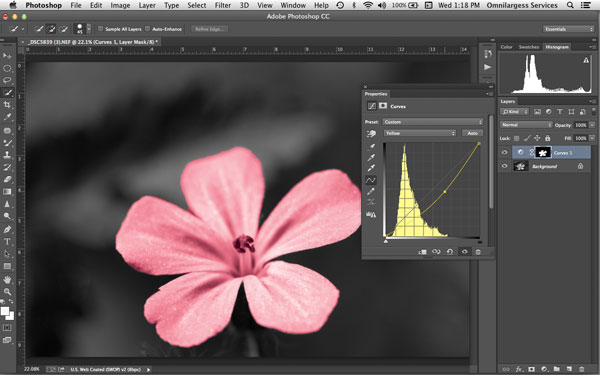


6-Continue tweaking your selection on this adjustment layer until you’re happy.
7-Select “Quick Selection” tool again and select another object in the photo. In this example I selected the background.

8-Repeat steps 4 and 5. I wanted a nice green background.
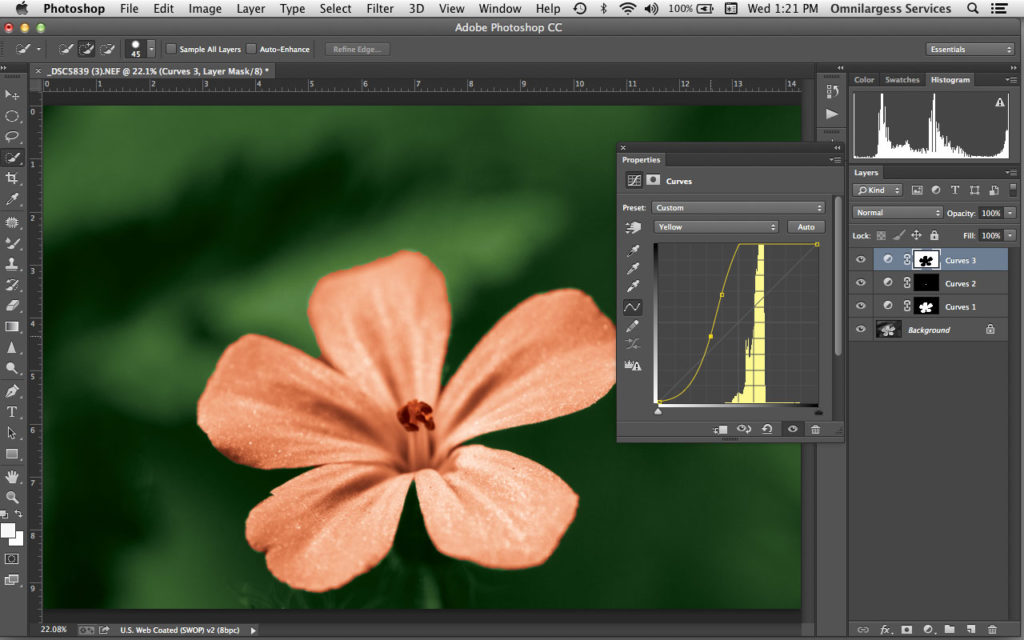
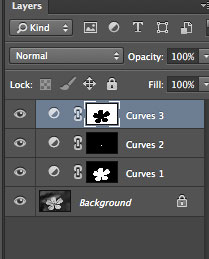
9- Job done! As you see Photoshop created a layer for each selection, which allows me to go back and fine tweak them later if I want to.

10-Save your art work as a PSD file if you think you’ll want to tweak it again. Or “Save As” a Jpeg for print, just remember to change the Mode from CMYK to sRGB for prints.
Happy Colouring
Ted and Omnilargess Team
Add your name for our upcoming Photoshop Bootcamp in March
[SINGLEEVENT single_event_id=”photoshop-bootcamp-2-52b362b5868e7″]
