Photoshop Tutorial
Create a Film Strip in Photoshop
Photo Tip Friday June 13, 2014
Photoshop can be very confusing if you don’t understand the tools and their functions. Our next Photoshop Bootcamp is coming up in September – be sure to check the course description for more info on how you will discover the hidden power of some popular tools.
One of the most neglected features in Photoshop is the “Transform” option. In this Photoshop Tutorial I am going to show you how to make a Film Strip and use this feature to create a 3D looking image.

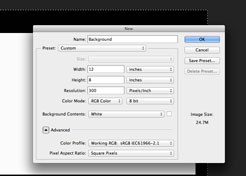
1- Create a New canvas and select 800 pix for width, 600pix for height, 300 PPI, and Black background.

2- Copy Background layer and change the fill colour to White (Command/Control I)

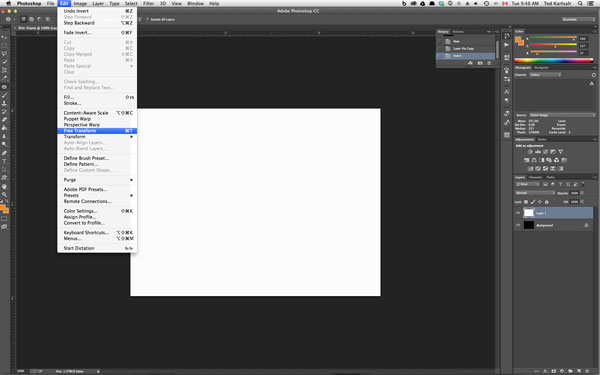
3- Select the new layer and go to EDIT> FREE TRANSFORM (Command/Control T)
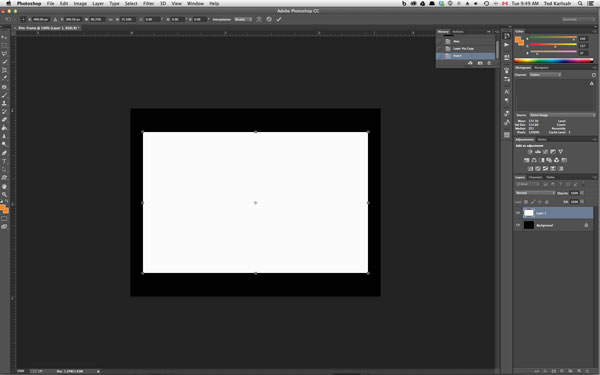
4- Hold down OPTION/ALT key and drag the mid top handle down to around 70%
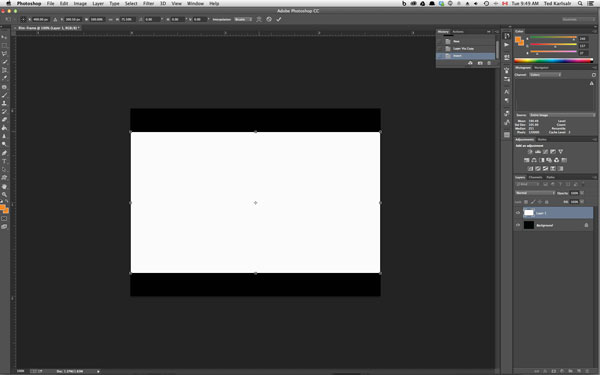
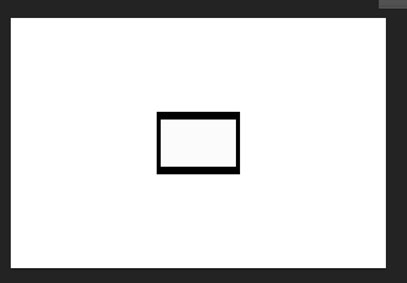
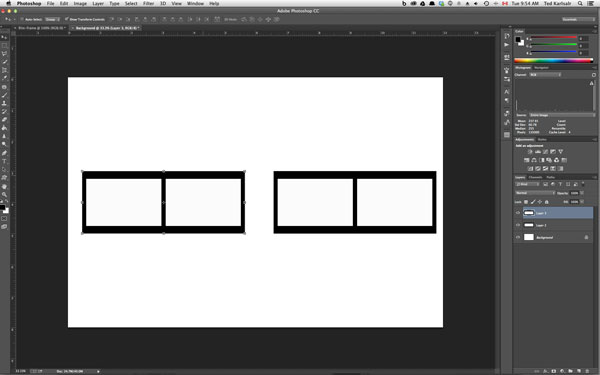
5- Do the same and drag the mid vertical handle to around 90%. You should have something like this image.
6- You now have two layers one in black and the other one in white. Select both Layers and merge them together by going to LAYER> MERGE or (Command/Control E) to make a single Layer. Select all and copy this Layer in your clipboard (Command/ Control A, Command/Control C)
7- Create another blank Layer to the size and background colour that you like.
8- Paste the copied layer in to this new canvas (Command/Control V)
9- Repeat the Paste to have another block.
10- Move them together to create a 2 cell block like the image below
11- Now select both layers for the cells and merge them together
12- Now you have a 2 cell block in one layer. Copy it and Paste it in to a new layer. You should have something like this image
13- Move to blocks together and create a 4cell block and then merge the layers to make one Layer. Go to QUICK SELECTION tool and Click on one of the white cells inside the frame, hold down the Shift key and click on each of them to select all the white colour cells. Now press DELETE to remove the white colour and make them Transparent

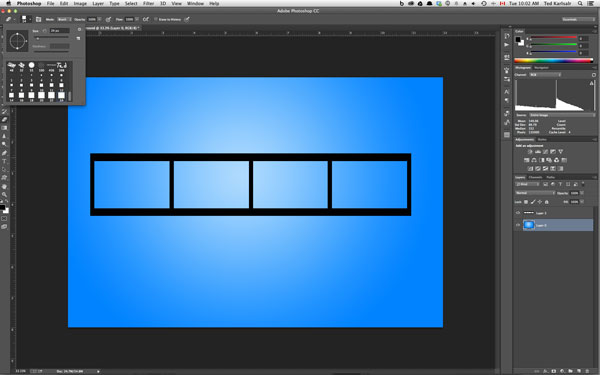
14- For ease of seeing the effect I changed the Background colour to Blue
15- Select the ERASER tool and go to Brush size and select Square Brushes and then select the last square brush (Choose the largest one)
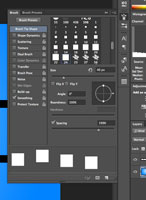
16- Adjust the size of the brush to fit the black strip nicely. Then go to Brush Property Panel then select BRUSH TIP SHAPE, then go to SPACING and set the value to around 300.
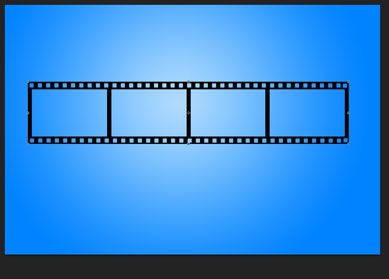
17- With ERASER tool selected, one click at the far left hand side of top black strip, then hold down the Shift key and one click at the far right hand side of the strip. Do the same thing for bottom strip as well.
18- Copy and paste images that you want to use inside each frame. You need to resize them as well. I use FREE TRANSFORM for each layer to adjust them. Now you get this image

19- The image are on top of the strip layer, we have to reverse it by selecting layer with the strip and move it above all the other layers.
20- Now select all the layers (I usually do not select the background layer as I may want to change the colour later) and merge them together.

21- Now the film strip is ready you can move it, rotate it, resize it, etc. Use your creativity and imagination!
22- You can change the background colour or add more 3D effects by using different tools
That’s all for this week. If you want to learn more about Photoshop, register for our Photoshop Bootcamp today! Feel free to contact us if you have any questions!
Ted and the Omnilargess Team
[SINGLEEVENT single_event_id=”photoshop-editing-techniques-2-537b93189c4fb”]


