Printing Odd Sized Photos
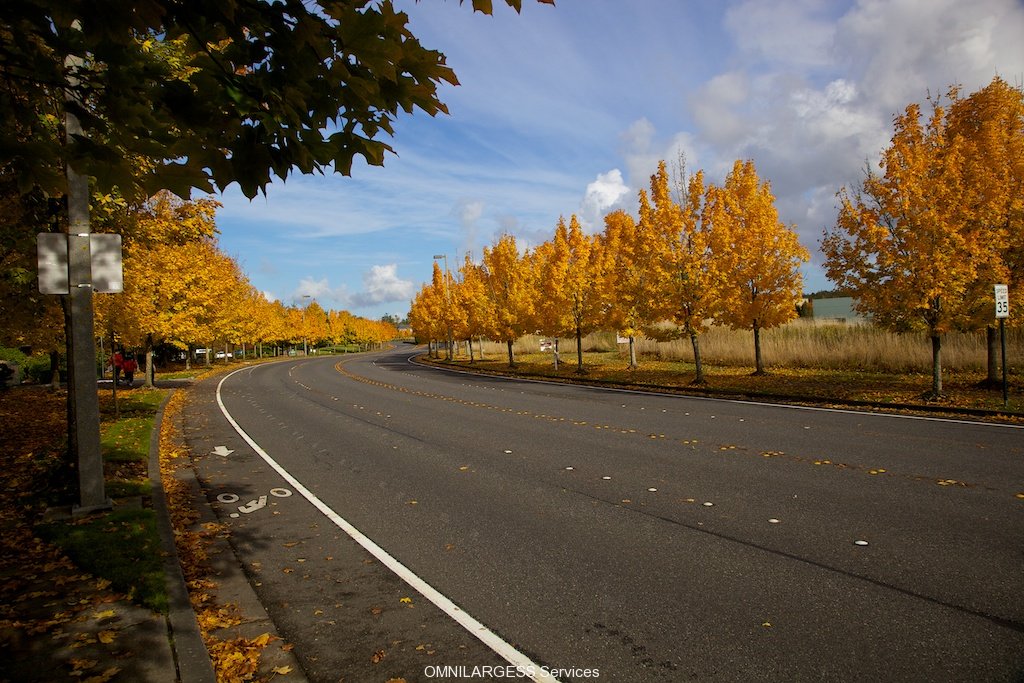
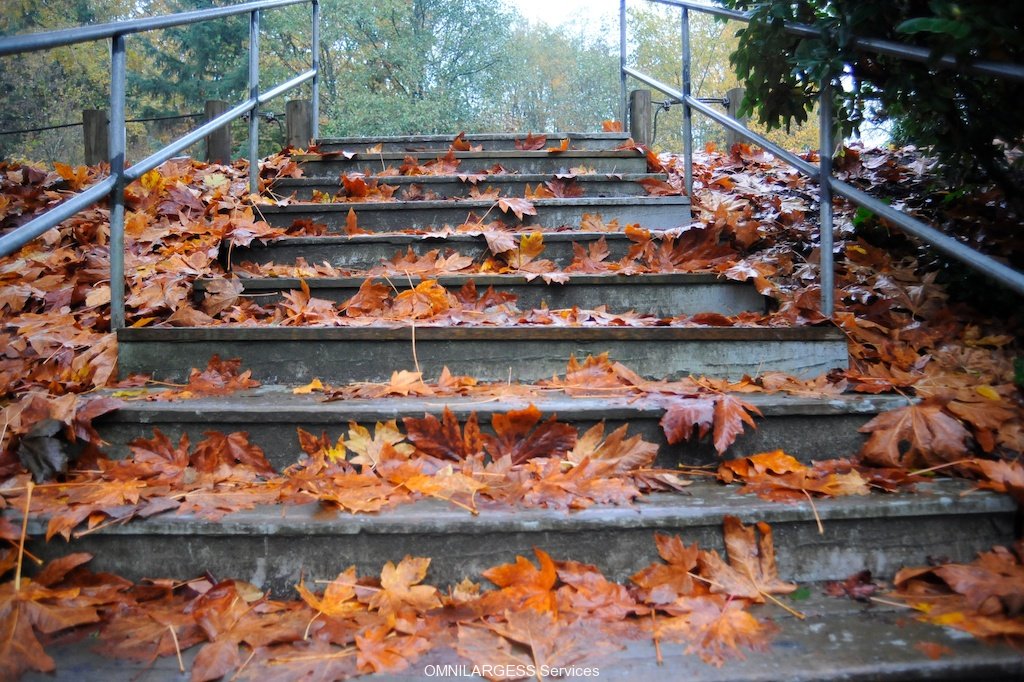
This year we had an amazing Fall. Colors were so vibrant. Now you want to print some of those images and frame them. May be you want to give the pictures to someone you love. Wait a minute you may have some very nice classy frames to use, but they are odd sizes! What can you do?

Tamara from Beyond Exposure Photography shared with us very useful Photoshop tips for printing odd size images. I want to thank Tamara for her nice tips.
Printing odd sized photos
There are many different sizes of frames out there, and many different uses we have for our photos. Sometimes printing standard sizes is not what we want. Usually when using the print machines or online printing services at the store, they require us to crop our photos if the file dimensions do not match the output size. So how do we get around this dilemma?
When using Photoshop there are several ways to alter our photo size, but I will concentrate on two main processes here that will get us what we want.
First scenario:
You have a photo that is sized to be 13 inches by 5 inches. You want a long panorama print that size in the end.
Step 1: Open your image in photoshop.
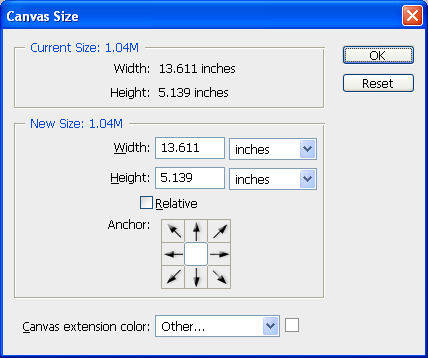
Step 2: Choose the “Image” menu, and then choose “canvas size”
Step 3: Change the dimensions of your photo to match the standard print size that most closely matches your odd print size. In this case an 14 inch by 11 inch photo is the closest size up (you match the longest side of your image). So I change my print size to an 14×11. This automatically extends the canvas of your photo one inch out either side of your print without affecting the print itself.
Step 4: Now you can save as an 11×14 and take your file to the nearest printing lab to print at that size. All you will need to do is to trim off the extra canvas extension and you will be left with your 13” panorama print.
Second Scenario:
You have a print that is sized as a 4.5 x 6 or larger, and you want to shrink it to fit into a 4×6 print.
Step 1: In photoshop, choose “File” menu and then choose “new.” Set the width and height to 4 inches by 6 inches (or vice-versa for a horizontal print). Then set your ppi (resolution) to 300. Make sure the photo is in RGB colour (not CMYK or Greyscale).
Step 2: Open your file in photoshop.
Step 3: Use the “move” tool to grab your image and drag it over to the new canvas you made in step 1. Make sure that you have your photo layer selected
Step 4: In the “move” tool options, make sure “show transform controls” box is checked. Now press and hold the “Shift” key while you drag the corner of your image in to shrink your photo. Holding the shift key ensures that your original photo does not get distorted in the resizing process.
Step 5: Once your photo fits within the boundaries of your canvas, you can flatten your layers and save as a 4×6 jpg file and take it to the store for printing. You will end up with a photo that is slightly smaller than a 4 x 6, and will be required to trim off the excess canvas here as well.
Was this tip useful?
If you would like to learn more about editing your photos for printing, please register for our I.C.E. Editing for Print and Display course.
Tamara & Omnilargess
If you are interested in Photo editing and retouching, our I.C.E. Photo editing is the first level of several Photo editing seminars that we offer for Abbotsford, Langley, Chilliwack, and Lower Main Land. We developed a very easy to follow workshops that covers the most popular tasks for photo retouching and photo editing.
Please feel free to contact me or Tamara if you have any questions. Have fun with photo editing and stay tuned for our next tip.
Ted


