Photoshop Vanishing Point
Photoshop Vanishing Point is another Hidden Gem!
Photo Tip Friday August 22, 2015
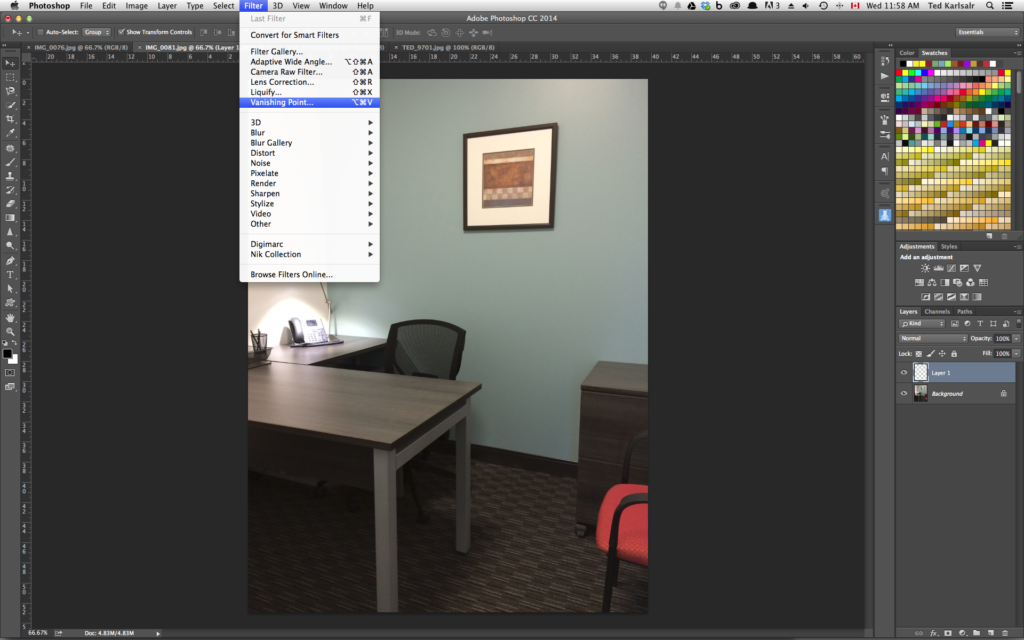
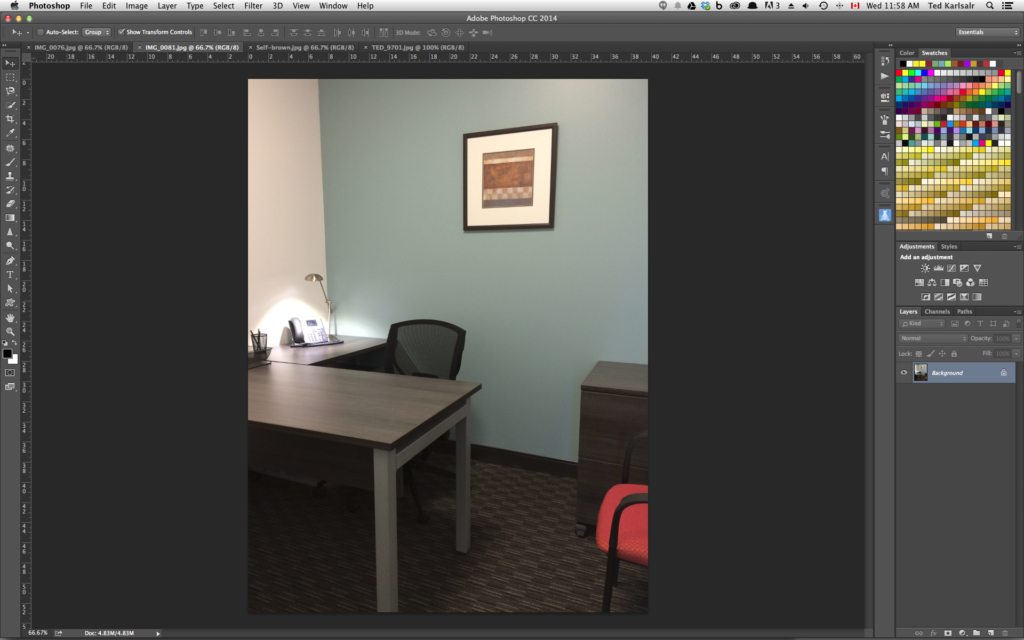
Take a look at this photo below – I want to change the photos inside the frames with different pictures.

Changing the picture inside the frame to a different image would be a difficult task using traditional methods. But it is much easier when using Vanishing Point in Photoshop.

The Vanishing Point filter is a great feature in helping you to work within an image that has elements in a specific perspective, without having to jump into the entire 3D package in Photoshop. In this tutorial I am going to show you how Vanishing Point is another hidden gem!
1- Open the background photo in Photoshop
2-Open the picture that you want to use
3-Select the photo by using Command A or Control A, and the Copy the image
4- Now here is the important part of the process. Go back to background image and create a new Layer. Then go to Filter>Vanishing Point
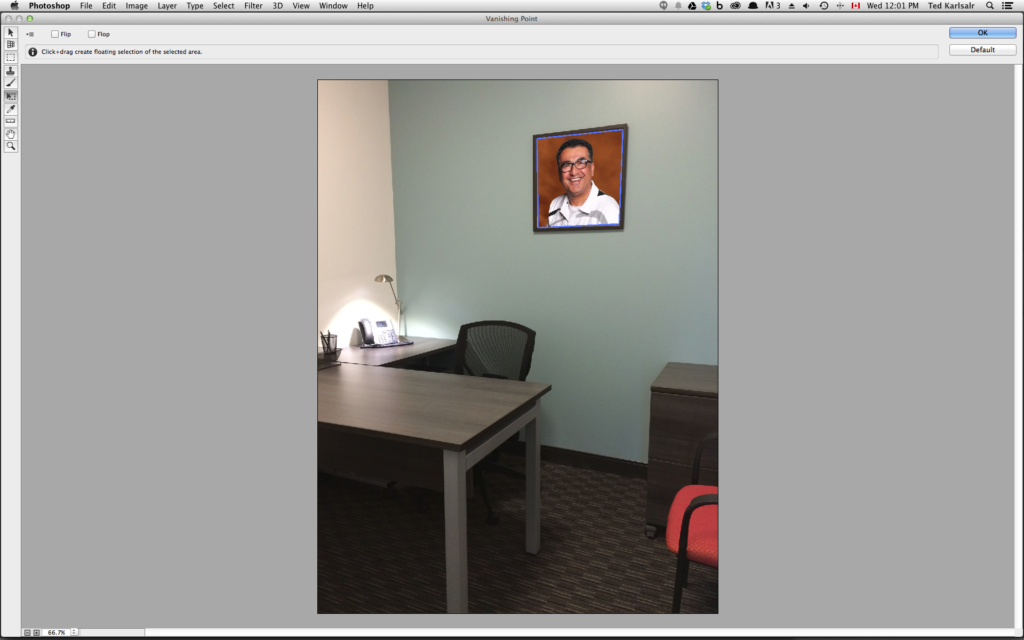
 5-In Vanishing Point screen select Create Plane Tool and apply all four points to cover the picture frame on the wall.
6- Paste the foreground image on to the background photo and resize it to fit inside the picture frame
7- Drag and drop the image in to the Plane area that you created. Photoshop Vanishing Point will make the correction to perspective
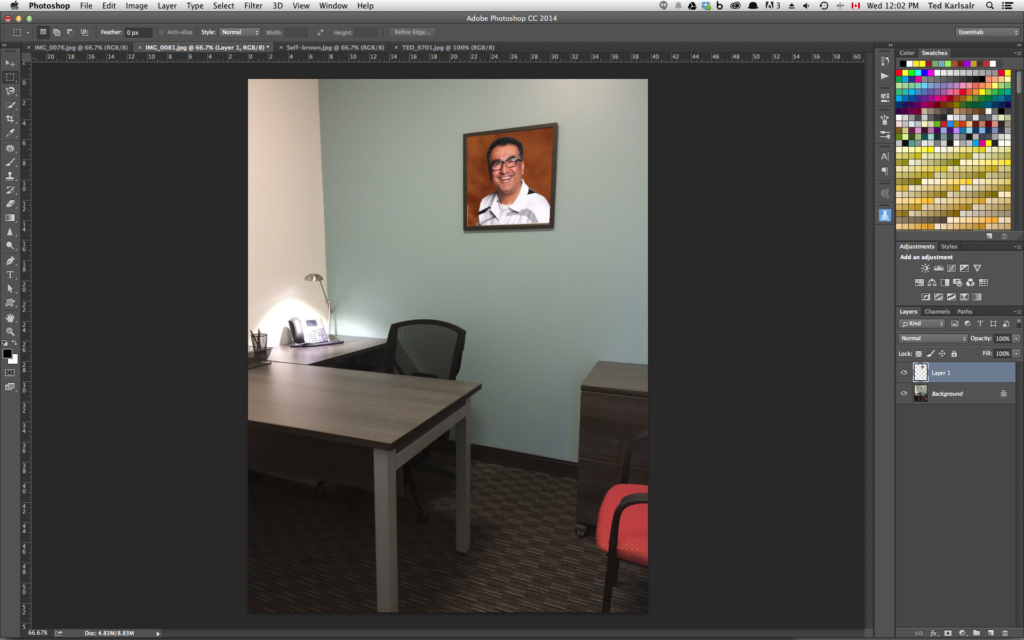
9-Click OK and job is done
If you have multiple area to edit, you need to create a new layer for each area like the image below
The Photoshop Vanishing Point is fun and easy tool. If you want to know more about Photoshop editing techniques, sign up for our upcoming Photoshop bootcamp.
Ted and the Omnilargess Team


