Replace Colour in Photoshop
Photoshop Quick Tip
How to adjust a selective colour in Photoshop
Photo Tip Friday May 30, 2014
Have you ever wanted to replace a certain colour in your picture without affecting the other colours? For example you took a photo of your backyard in the middle of summer and you want to make the grass in your picture greener. Or may be you want to know how your living room will look if you changed the paint and want to experiment with different paint colours to match the furniture! In this tutorial I am going to show you an easy, quick way to replace selective colours in Photoshop. Then use your imagination and have fun!

-Open an image in Photoshop and copy the layer. It is always recommended to work on a layer not directly on the original image.

-Go to IMAGE > ADJUSTMENTS > REPLACE COLOR. Select the “EYE DROPPER” with the Plus sign. Next select the colour that you want to change. By moving the eye dropper to the different shades of the colour, you add them to your selection. By adjusting the FUZZINESS you can see how much of the colour is selected (White means selected, Black means not selected)


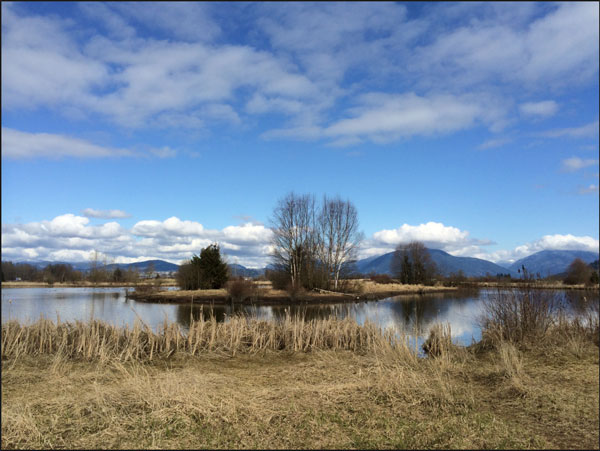
-Start to adjust HUE to the colour that you like. In this photo I wanted to have more green instead of brown.

-To fine tweak my changes I used a HUE/SATURATION layer adjustment and added a touch of saturation and changed the hue a small amount.

The job is done! Here is a Before and After for you to compare:


Can you see how, with a little artistic vision, this simple technique can create amazing pictures?
In our Photoshop Editing Techniques Bootcamp you will learn many simple yet powerful techniques for beginners to intermediate Photoshop users. If you are an advanced user and want to learn more about advanced techniques, please give us a visit and we can arrange some private lessons for you.
Have fun with using selective replace colour in your photos!
Ted and the Omnilargess Team
[SINGLEEVENT single_event_id=”photoshop-editing-techniques-2-537b93189c4fb”]
