Blurring Boundaries: Mastering Lightroom Lens Blur for Stunning Photos
Welcome to another informative article on photography and editing! In this post, we will dive deep into the exciting world of Lightroom Lens Blur. If you’re passionate about photography and post-processing, this is a must-read. We’ll also explore how private Lightroom lessons at Omnilargess Photography Classes can help you harness this new tool effectively.
Understanding Lens Blur in Lightroom
Lightroom Lens Blur is a game-changer for photographers, whether you’re a beginner or a seasoned pro. This tool allows you to simulate the creamy, beautiful bokeh effect that’s usually achieved with high-end lenses. With Lens Blur, you can transform a regular image into a masterpiece, focusing on your subject while creating a stunning background blur.
How to Access Lightroom Lens Blur
Before diving into the details of how Lens Blur works, let’s ensure you know how to access it in Lightroom. Follow these steps:
- Open Lightroom and import your image.
- In the Develop module, scroll down to the Effects panel.
- Locate the “Lens Blur” section; there you have it – your gateway to creative photography!
Mastering the Lens Blur Settings
Now, let’s explore the settings available within the Lens Blur tool:
- Amount: This controls the strength of the blur effect. A lower amount will yield a subtle blur, while a higher amount creates a more pronounced effect.
- Transition: Adjusting the transition slider determines how gradually or abruptly the blur transitions from the subject to the background. For a natural look, you’ll want a smooth transition.
- Center and Feather: These settings let you precisely control where the center of your focus should be and how soft the edge of the focal point should appear.
- Quality: Choose between “Draft” and “Good” based on your output requirements. For the best results, opt for “Good.”
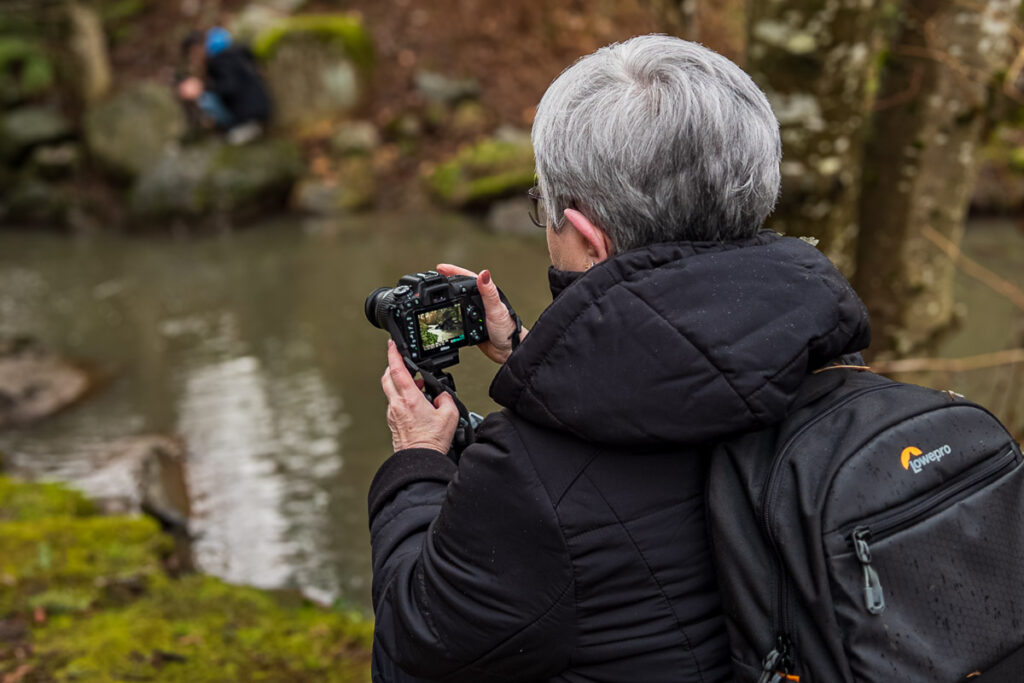
Original Photo

Bringing Your Image to Life
To demonstrate the power of Lightroom Lens Blur, let’s work through an example:
- Open your image and select the Lens Blur tool.
- Adjust the “Amount” to achieve the desired level of blur. Generally, aim for a value that creates a noticeable but not overwhelming effect.
- Fine-tune the “Transition” to ensure a seamless transition between the subject and the background.
- Use “Center” and “Feather” to pinpoint your subject and soften the blur’s edges.
- Ensure the “Quality” is set to “Good.”
Following these steps, you can make your subject pop and your background beautifully blurred, adding a professional touch to your photographs.
Lightroom Lens Blur

Want More Free Photography Tips?
Follow us on Instagram and Facebook for daily photography tips and tutorials.
Omnilargess Private Lightroom Lessons
To master the art of Lightroom Lens Blur and other editing techniques, consider enrolling in private Lightroom lessons at Omnilargess Photography Classes. Our personalized, one-on-one instruction is tailored to your skill level and goals, ensuring you get the most out of your editing software. You’ll learn the ins and outs of Lightroom, discover new techniques, and unleash your creative potential.
Conclusion
Lightroom Lens Blur is a powerful tool that can take your photography to the next level. It’s a fantastic way to add depth and professionalism to your images, and our private Lightroom lessons at Omnilargess Photography Classes can help you unlock its full potential. So, why wait? Start exploring the world of Lightroom power today and elevate your photography to new heights.
That is all for now. Stay tuned for my following photography Tips. We love to hear from you. Let us know if you have any questions; feel free to send us your questions, and we will gladly answer them. Follow us on Facebook, Instagram and Twitter for more Free Tutorials and Tips.
Ted and the Omnilargess Team

