Understanding Exposure Modes in Digital Cameras: A Complete Guide
Mastering exposure is a crucial step in elevating your photography skills. Whether you are a beginner or an experienced photographer, understanding different exposure modes in your digital camera can help you capture stunning images in any lighting condition. In this guide, we will explore the different exposure modes, their practical applications, and how they can enhance your photography. Plus, we have an exciting announcement about our upcoming Omnilargess Outdoor Photography Workshops to help you put this knowledge into practice!
What Are Exposure Modes?
Exposure modes determine how your camera selects the shutter speed, aperture, and ISO settings to achieve the correct exposure. Digital cameras typically offer a variety of modes, ranging from full automatic to full manual control. Let’s break down each mode and understand when to use them.
1. Auto Mode (Fully Automatic)
- The camera selects all exposure settings automatically.
- Best for beginners who want a quick and easy way to capture images.
- Not ideal for creative control, as the camera decides everything for you.
- Example: Taking casual snapshots at family gatherings or on vacation.
2. Program Mode (P Mode)
- The camera chooses the shutter speed and aperture, but you can adjust ISO and white balance.
- Offers some flexibility while still assisting with exposure.
- Example: Street photography where lighting conditions change rapidly.
3. Aperture Priority Mode (A or Av Mode)
- You select the aperture, and the camera automatically adjusts the shutter speed.
- Best for controlling depth of field (how much of the scene is in focus).
- Example: Portrait photography (wide aperture like f/2.8 for blurred background) or landscape photography (narrow aperture like f/11 for sharp details).
4. Shutter Priority Mode (S or Tv Mode)
- You choose the shutter speed, and the camera adjusts the aperture accordingly.
- Great for freezing motion or creating motion blur.
- Example: Capturing a fast-moving subject (1/1000s for wildlife or sports) or creating silky water effects (1/4s or slower for waterfalls).
5. Manual Mode (M Mode)
- You control both the shutter speed and aperture manually.
- Provides complete creative control but requires a good understanding of exposure.
- Example: Night photography, long exposure shots, or challenging lighting conditions where auto modes may struggle.
6. Bulb Mode (B Mode)
- Keeps the shutter open as long as the shutter button is held down.
- Ideal for extreme long exposures, such as astrophotography.
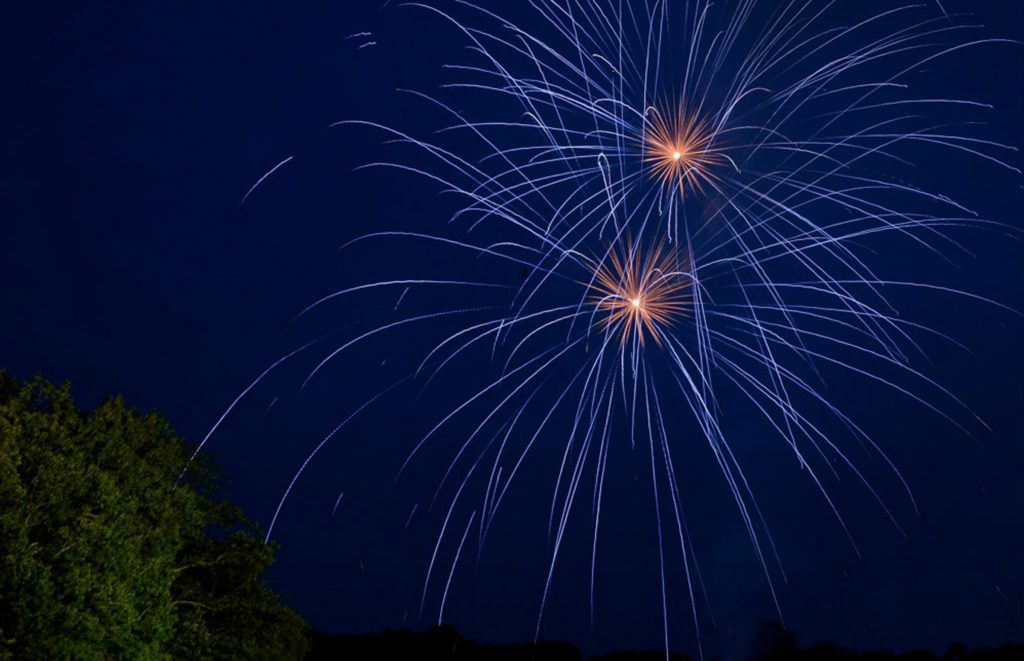
- Example: Capturing star trails or fireworks.
Which Exposure Mode Should You Use?
The best exposure mode depends on your subject and the effect you want to achieve. If you’re just starting, Aperture Priority or Shutter Priority is a great way to practice control without fully committing to Manual Mode. As you gain confidence, experimenting with Manual Mode will allow you to fine-tune your photography skills.
Join Our Omnilargess Outdoor Photography Workshops
Now that you have a better understanding of exposure modes, why not practice your skills in a hands-on learning environment? Our Omnilargess Outdoor Photography Workshops are designed to help photographers of all levels master their cameras and improve their creativity.
Upcoming Workshops:
Beginner Outdoor Photography Workshop – April 5, 2025, at Mill Lake Park, Abbotsford
Intermediate Outdoor Photography Workshop – May 3, 2025, at Fish Trap Creek Park, Abbotsford
Advanced Outdoor Photography Workshop – June 7, 2025, at Fish Trap Creek Park, Abbotsford
Each workshop includes an instructional session followed by hands-on practice in a scenic outdoor setting. Whether you’re new to photography or looking to refine your skills, these workshops will give you the confidence to shoot in various exposure modes effectively.
Register Now!
Spaces are limited, so don’t miss out on this opportunity to elevate your photography. Visit Omnilargess Photography Classes to learn more and sign up today!
By understanding and experimenting with different exposure modes, you’ll gain more control over your photography and take stunning images in any situation. Join us at Omnilargess and take your photography to the next level!
Want More Free Photography Tips?
Follow us on Instagram and Facebook for daily photography tips and tutorials.

That is all for now. Stay tuned for my following photography Tips. We love to hear from you. Let us know if you have any questions; feel free to send us your questions, and we will gladly answer them. Follow us on Facebook, Instagram and Twitter for more Free Tutorials and Tips.
Ted and the Omnilargess Team


